
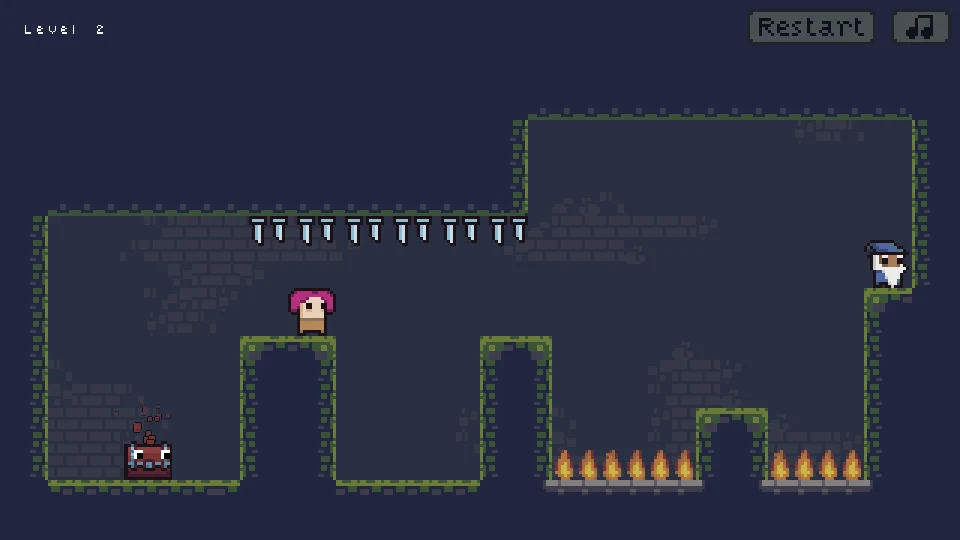
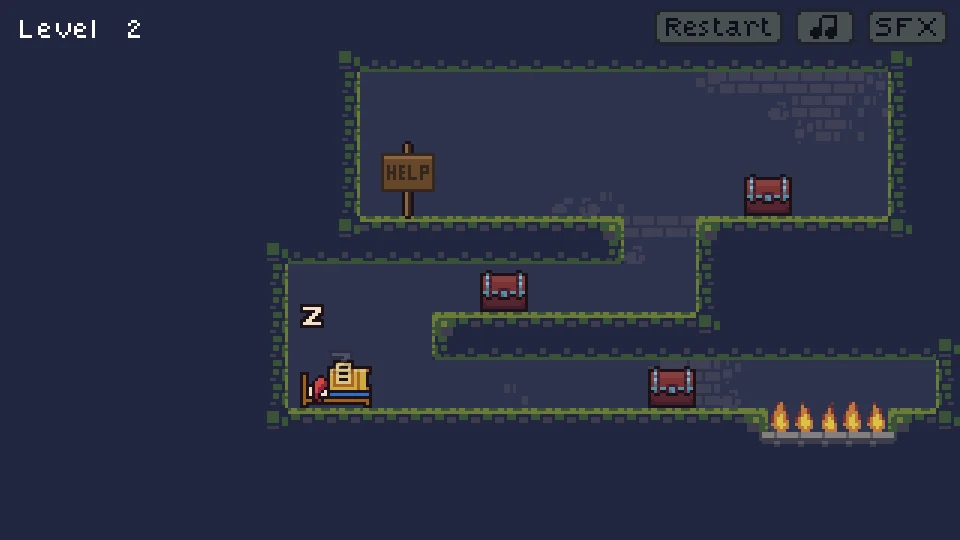
An axe, two chests and a route between them
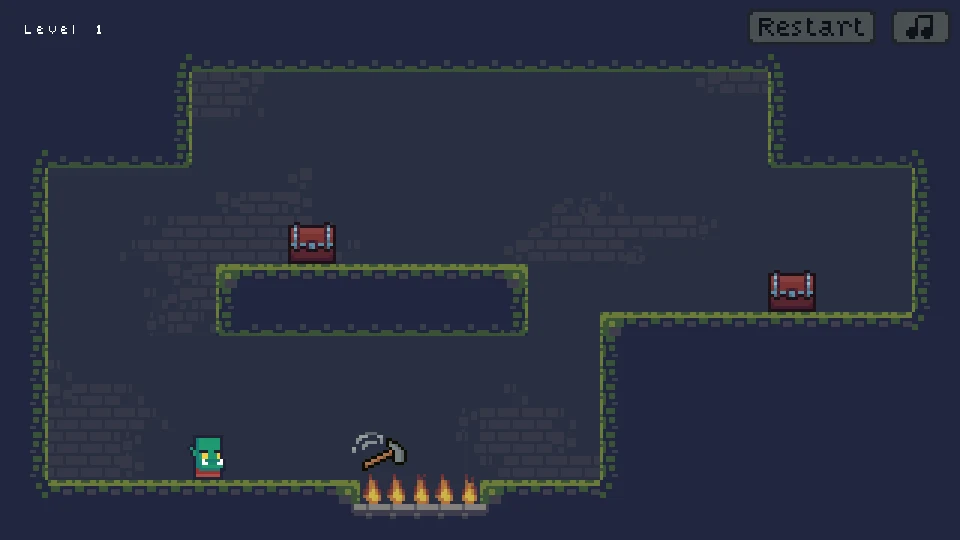
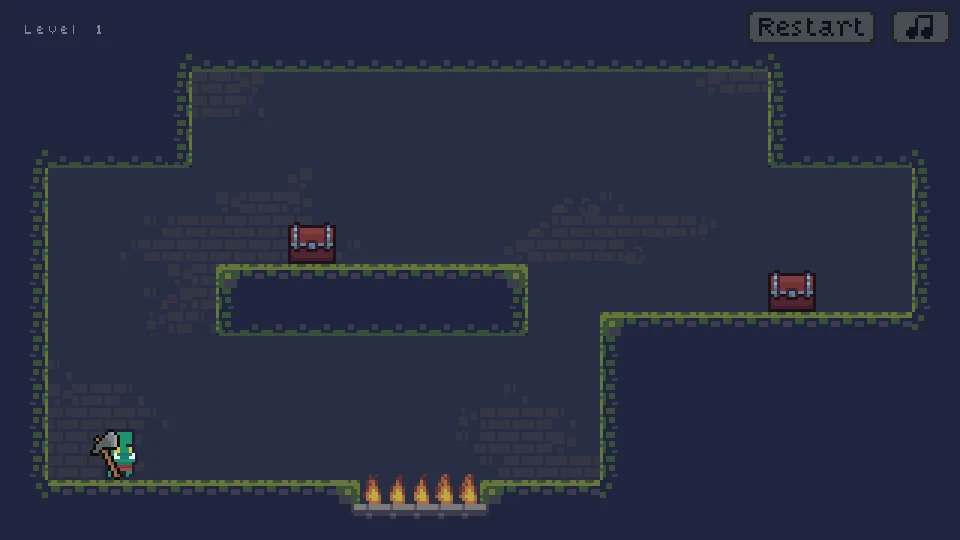
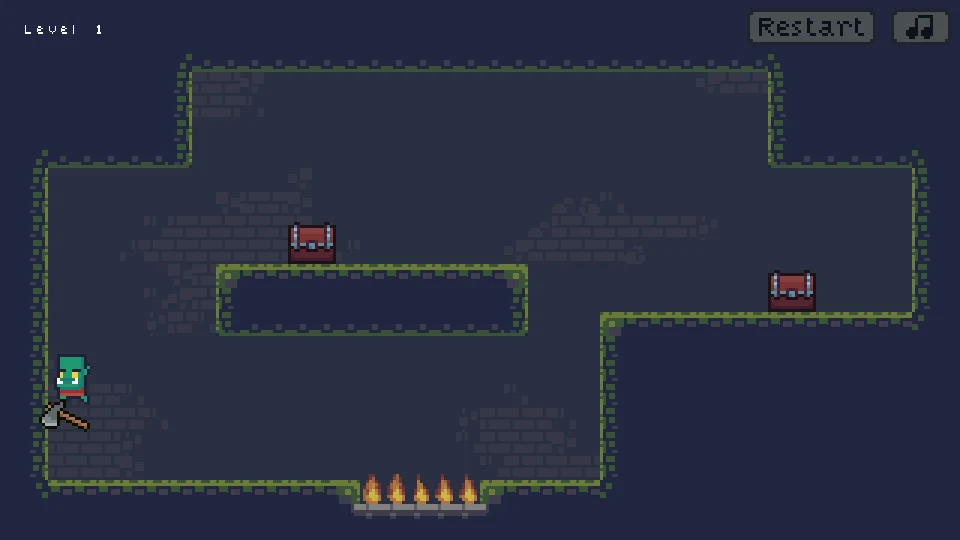
Choppy Orc is a platform puzzle in which reaching a chest matters as much as throwing the axe. The opening room puts the orc on the lower floor, one chest on a suspended central ledge and another on the right. Flames fill the low space between the ledges. Walking toward the nearest chest soon exposes the problem: the floor does not provide a straightforward staircase. Your axe supplies a piece of the route that the room is missing.
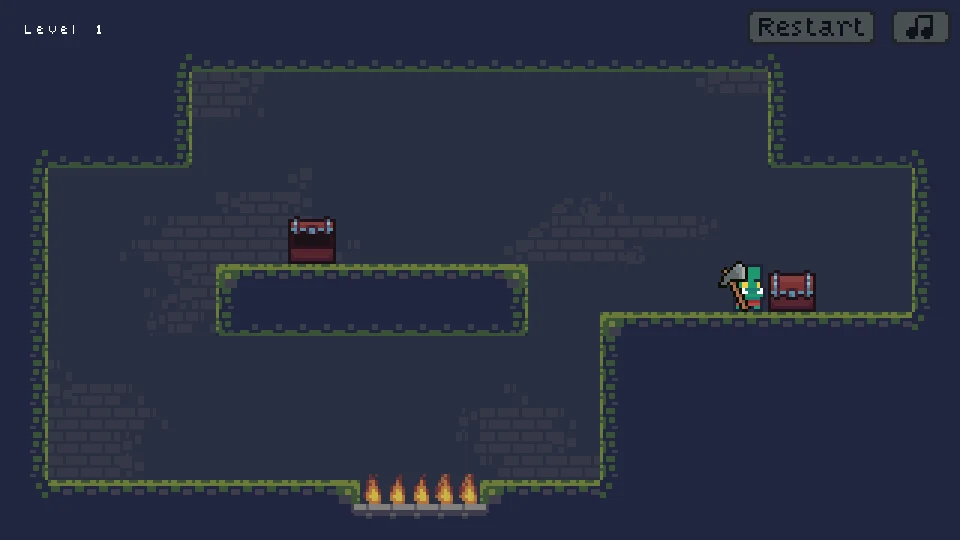
Look at every closed chest before leaving a safe platform. An opened chest and a freed character show that a local goal has been reached, but another closed chest can still keep the room unfinished. The first successful rescue is therefore a staging point for the next crossing. You do not need to race the animation or collect an invented key. Plan how to leave the chest’s ledge with the axe available for the next obstacle.
Learn the throw and the return separately
| Input | Action |
|---|---|
| A/D or left/right arrows | Move and choose facing |
| W or up arrow | Jump |
| X, J or Space | Throw the axe, or recall it when already out |
| R / M / Escape | Restart / mute / menu |
Try a throw while standing on safe ground. The axe travels in the direction the orc faces, so a short movement in the intended direction is useful before a precise throw. Then press the axe button again and watch the return. This is one reusable axe with two different states. Rapidly pressing the button can undo the placement you wanted, leaving the orc with no foothold just as you start moving toward it.
Make the left wall part of the opening climb
The left side of the opening room gives you a useful place to learn the axe’s movement role. Face the nearby wall, jump and throw toward it. A lodged axe is visibly different from a projectile still travelling through the air: its handle remains fixed at the wall. The orc can use that position to gain the height needed for the central ledge. Watch the orc’s contact with the axe and the resulting upward movement rather than treating the throw as a way to damage the wall.
A successful opening attempt can carry the orc onto the central chest platform while the axe remains in the left wall below. That result connects three decisions: the throw’s height, the orc’s position when the axe sticks and the direction of movement after the boost. If the orc rises but lands back on the lower floor, the throw may be useful while the follow-through is missing. Keep the working axe height and adjust your movement toward the ledge before replacing the entire plan.
Why does pressing the axe button remove my platform?
When the axe is already out, its button calls it back. That is useful when the next wall needs a new placement, but it also removes the old foothold. Before recalling, check whether the orc is still relying on that position. Once you are safely on the central ledge, the opening wall placement has done its job and the axe can return. Recalling earlier, during a climb that still needs it, changes the room underneath your plan.
The same distinction matters in later rooms with several vertical faces. An axe far behind the orc may look irrelevant, yet calling it back is still a deliberate state change. Give each placement one clear purpose: gain height, reach a side ledge or provide the next jump contact. After that purpose is complete, retrieve the axe and choose the next wall. This keeps repeated button presses from turning a predictable sequence into an accidental throw-and-return loop.
Cross toward a landing, not just over the flames
After the central chest opens, the right-hand chest remains across the low flame trench. The central platform is higher than the dangerous floor, and the right platform offers a real landing beyond the gap. Move close enough to the departure edge to use that height, then jump toward the platform itself. The destination is the flat area beside the chest, not the glowing hazard below it. Keep the right edge of the room in view so that a successful crossing does not end against a wall without touching the chest.
Separate a short jump from a badly chosen starting point. If you leave from far inside the central platform, some of the jump is spent travelling above ground you already owned. If you step off before jumping, you lose the useful height. A controlled attempt starts from a recognizable edge position and changes only one part of the movement at a time. The two-chest opening makes this easy to judge because an already opened chest remains a clear sign of the work you have completed in that attempt.
Walls are useful; spikes and moving creatures need another check
Later rooms add bats, ceiling spikes and ghost-shaped hazards around the same wall-and-ledge vocabulary. A route can be safe underneath the orc yet dangerous above the jump. Before committing to a boosted climb, trace the space occupied by the orc’s head as well as the place its feet will land. A ceiling spike row can turn an otherwise generous upward boost into a failed attempt. More height is not automatically a better result.
Moving hazards also make a fixed wall placement only part of the answer. Watch a bat pass the intended crossing before leaving the platform. If its path intersects the next landing, wait on actual ground and begin the jump when the route is clear. Do not assume a ghost becomes harmless merely because an axe is nearby; different room objects introduce their own interactions. Learn those visible state changes as they appear instead of carrying an untested rule into every new chamber.
Restart with a smaller question
Use R when an attempt has lost a useful position or ended at a hazard. Before repeating the full route, name the specific part that failed. Did the axe stick too low? Did the orc face away from the wall? Did the return remove a necessary contact? Or did a good climb lead to a poor landing? Each answer suggests a different correction. Throw height will not repair a jump made from the wrong edge, and holding right longer will not create a missing foothold.
For a first session, aim to understand the opening wall boost and finish both chests without rushing. Let the landing settle, identify whether the axe is in your hand or in the room and only then begin the next action. Once that rhythm is familiar, the later combinations of wall placements and moving hazards become easier to read. The useful habit is a visible sequence of setup, contact, landing and recall, with each stage leaving the next one possible.
What if movement and the axe do not register together?
Some keyboards miss particular combinations of simultaneous keys. If movement and jumping work separately but the axe does not appear when you add Space, try X or J for the axe. Test the replacement on the lower safe floor before using it beside flames. A missed physical key combination can look like a bad timing decision, so changing the action key is a better first check than repeating the same failed jump at increasing speed.
The browser version is best approached with a keyboard on a desktop or laptop. Enlarging the player can make the wall contact and small projectile easier to distinguish, but fullscreen does not change the axe rules. If the embedded host fails to connect, use Retry Game; if the game itself is running and the route has gone wrong, use its room restart. These solve different problems, and reloading the entire player is unnecessary for an ordinary missed throw.