
Prepare the route while the knight sleeps
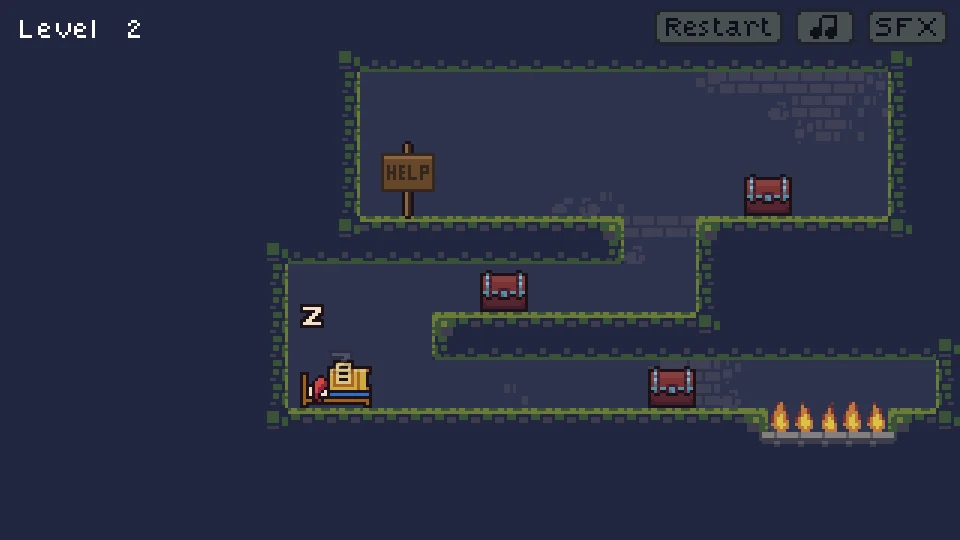
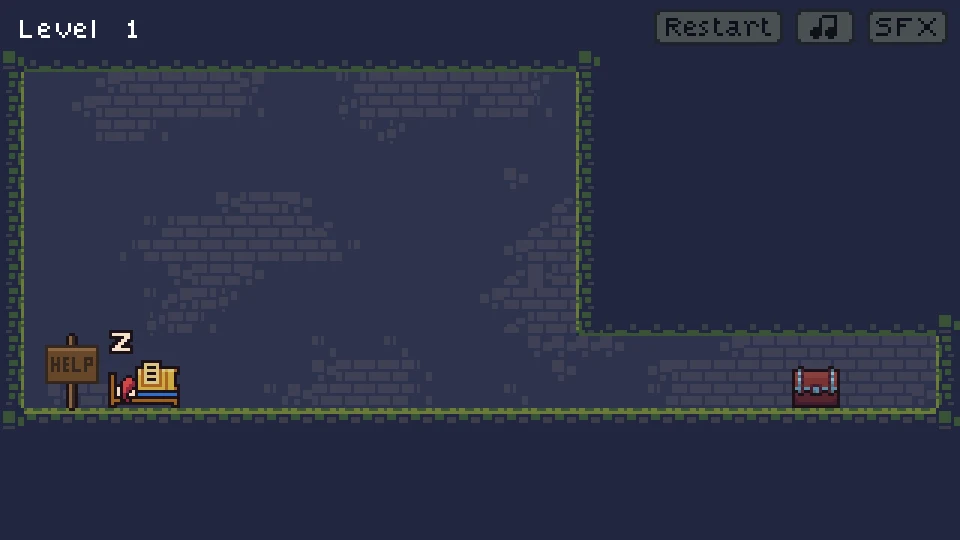
Sleepy Knight begins with a character who is not waiting for an ordinary walking command. The knight is asleep in a small bed, and the first chest is across the room. Your job is to choose a useful placement and facing, wake him with a sufficiently high drop and let his automatic movement carry him toward the goal. The setup happens before the walk, which makes the bed as important to the puzzle as the platforms around it.
The opening room gives you a long, mostly clear floor on which to see the result. A successful high drop leaves the bed behind while the awake knight walks to the right. That separation is the key feedback: carrying the sleeping pair and guiding the awake character are different phases of the attempt. Use the simple floor to learn what each click changes before trying a room with several chest heights or flames.
Select, move and click again to drop
Select the sleeping pair
Place the pointer on the bed and click left once.
Move to a deliberate release position
Lift the sleeping knight and bed into clear space above a safe landing.
Set facing
Use the right mouse button or X to face along the route you want after waking.
Click left again to release
A second click drops the pair. Merely releasing the physical button after selecting does not finish this action.
The listed alternatives are Z and X for the two basic actions, alongside the left and right mouse buttons. Mouse positioning is still the clearest way to learn where the sleeping pair will be placed. Start with the pointer on the bed, lift it into open space and make a deliberate second click. Watch the actual fall before adding another action. Rapid repeated clicks can pick up or release at a different height from the one you intended.
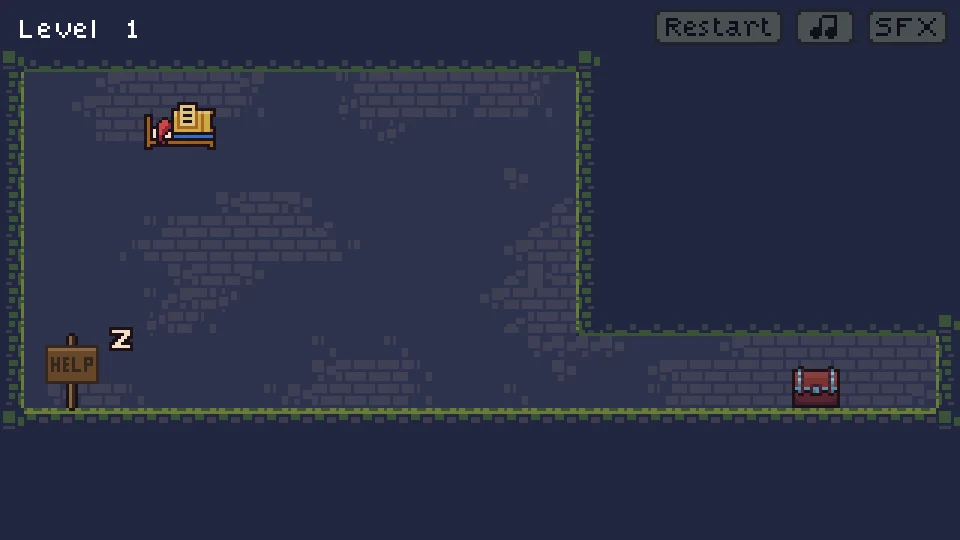
Why does a small drop leave him asleep?
A short lift is not the same as a waking drop. If the bed is released close to the floor, the knight can remain asleep. Raise the pair high enough that the fall is obvious, then click again to release it above a safe landing. In the first room, lifting from the starting floor into the clear upper space provides a straightforward comparison with the ineffective low drop.
Keep the horizontal position simple during this test. If the only thing you change is height, the waking result is easy to interpret. Moving the bed to a different ledge, reversing the knight and changing the drop height together makes a failed attempt harder to diagnose. Once the knight wakes and walks away, you have confirmed the input sequence and the height condition. You can then use placement as a route-planning tool rather than repeating the wake-up experiment from scratch.
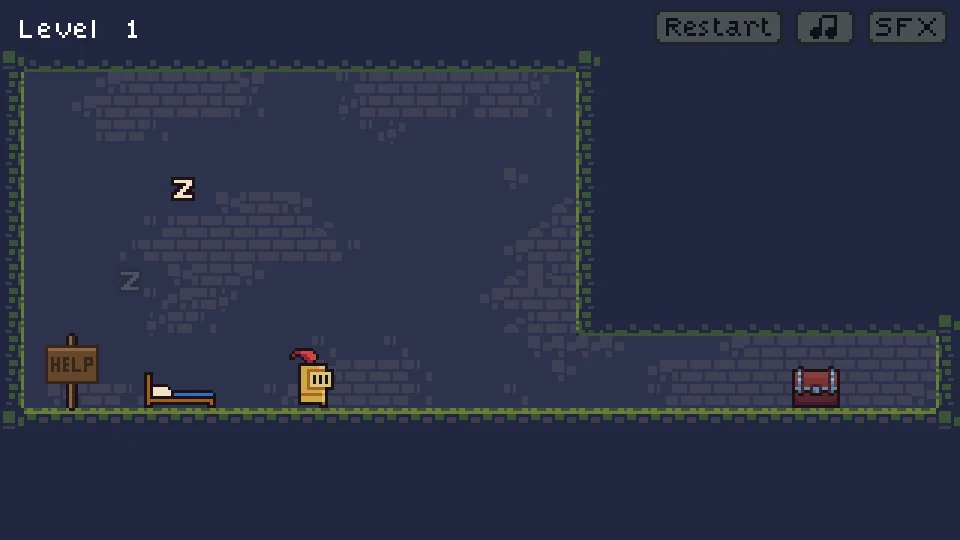
Choose the direction before starting the walk
The right mouse button, or X, changes facing. Use it while preparing the sleeping pair so that the first steps after waking point along the route you want. In the opening room, the chest is to the right. A correctly raised bed can still produce an unhelpful attempt if the knight is facing away from that goal. Check the direction of the figure before the second left click starts the drop.
This is a different rhythm from holding a left or right movement key throughout a platform jump. The knight’s automatic walk means your earlier choice continues to matter after landing. Look ahead along that direction: is there a chest, a wall, a drop or a flame row? Set the facing to match the next useful piece of floor. A safe waking place is valuable only when the movement that follows it has somewhere productive to go.
Use the opening floor as a complete practice run
Select the bed near the left side, lift it into the open area, confirm that the knight faces the chest and click again to let it fall. After a sufficiently high landing, the awake figure begins travelling along the floor while the empty bed stays behind. Give that movement time to finish. Clicking elsewhere immediately can distract you from the visible result that confirms the basic rule.
Watch both the walking figure and the chest at the end of the room. The task is reaching the goal, not simply producing a wake animation. If the figure is awake but heading the wrong way, adjust the facing in the next setup. If he remains asleep, adjust the drop height instead. If the pair never falls, finish the second-click release. The opening layout separates these three problems cleanly, so it is a useful room to revisit before attempting more complicated placements.
Several chest heights change the placement decision
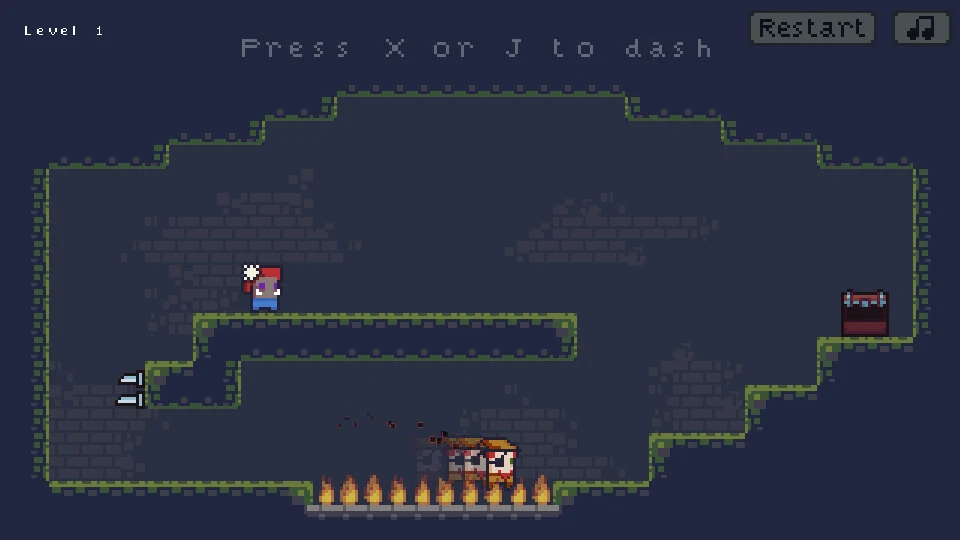
The next room places chests at different heights and adds a dangerous lower section. A bed dropped anywhere in the room is no longer equally useful. Compare the available standing surfaces and trace the direction the awake knight will take from each one. Choose a placement that leaves a real walking route after the fall, rather than the position that is merely closest to a chest in a straight line.
A high placement can solve access to a ledge but still start the walk toward flames. A low placement may be safely beside a target yet fail to wake the knight. Those constraints must be satisfied together: enough fall, a safe landing and a useful facing. Look at the floor beyond the immediate landing, especially where a passage narrows or ends. The automatic movement turns a small mistake in the setup into a later collision, so inspect the whole short route before dropping.
Read a changed knight before repeating the old plan
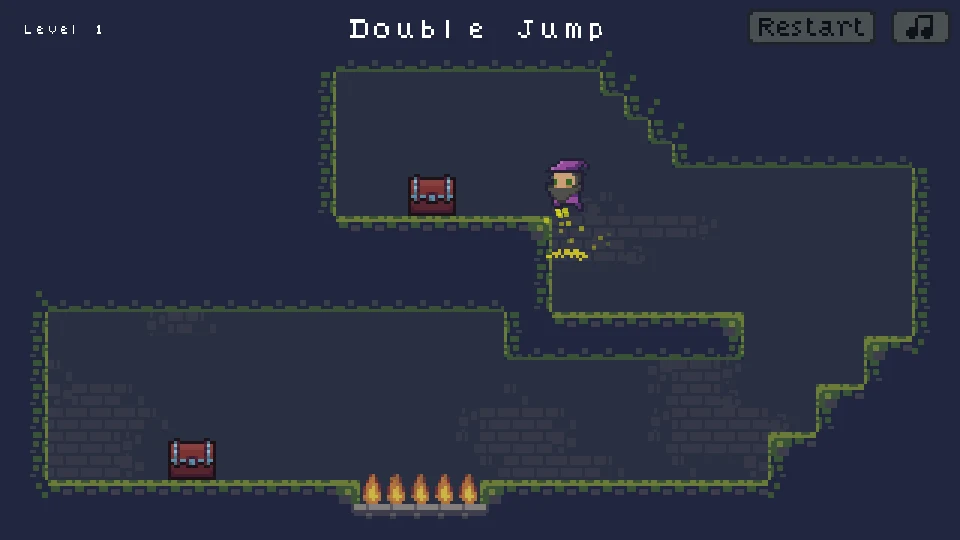
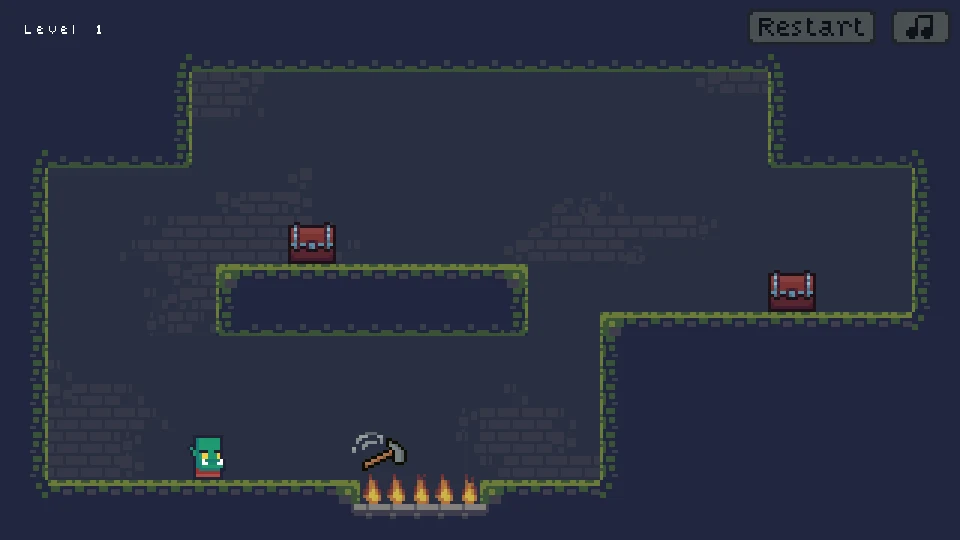
Later early rooms introduce potions and a changed knight appearance. A blue potion and a blue-looking knight are visible in the room sequence, so the character’s state deserves attention as well as the bed position. Do not assume that every later figure behaves exactly like the opening one, or that every potion grants the same movement. Use the room’s Help sign and the actual movement after the change to understand the new condition.
A layout with flames on several levels may be teaching a different interaction from the first clear floor. Before committing to a long sequence, try the changed state where its result is easy to see. Keep the useful parts of the original routine: select deliberately, check the placement, read the facing and observe what happens after release. The new object adds a condition to that routine; it does not remove the need for a safe landing or make every direction equally good.
Recover by changing the setup that failed
Use the visible Restart control when the current attempt needs a clean beginning. Then change the cause of the failure rather than reproducing every click faster. For an asleep landing, raise the drop. For the wrong walking direction, correct the facing before release. For an approach that ends at a hazard, move the starting placement or choose another surface. A successful wake followed by a bad route is a route problem, not a reason to keep increasing the height.
A mouse on a desktop browser makes the select-and-place sequence easy to separate. Keep the game large enough to see the sleeping figure’s facing and small ledge edges; either fullscreen control can help with that. If the page’s game connection fails, Retry Game restores the player connection. If the game itself is running, its Restart button handles the room attempt. Once the two-click placement and automatic walk feel predictable, the puzzle becomes choosing where that predictable movement should begin.