
Read the room as a set of vertical routes
Hasty Shaman turns separated chambers into a problem of alignment. The shaman can move and jump normally, but X or J sends him downward through the ground. A wall that stops an ordinary walk is therefore not the only way to understand the room. Look at the open spaces below the shaman’s current position. Changing that horizontal position before the dash can lead to a different chamber, even though the action button stays the same.
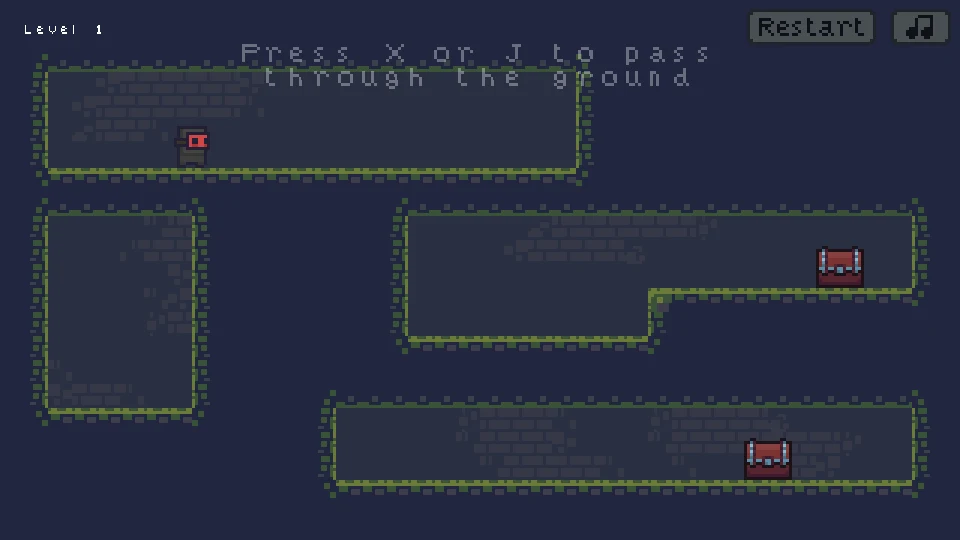
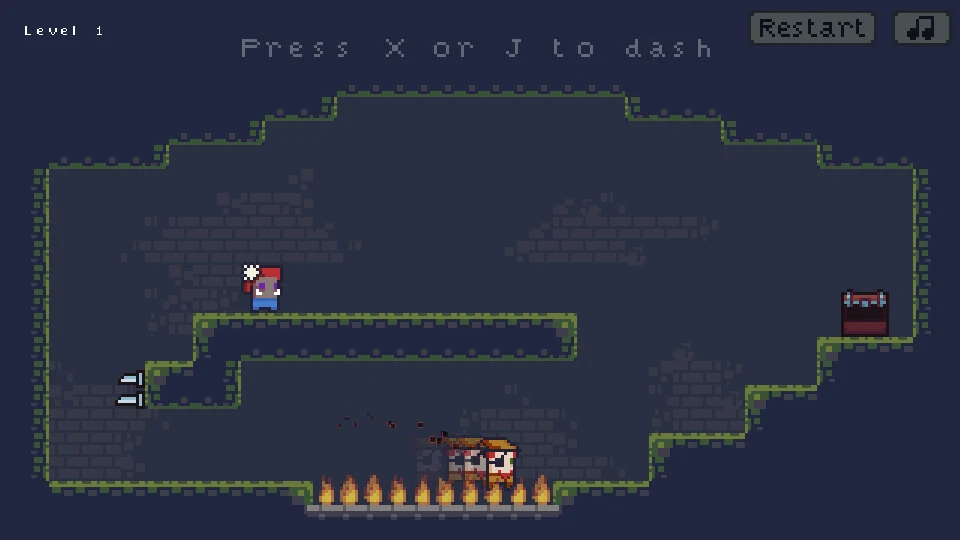
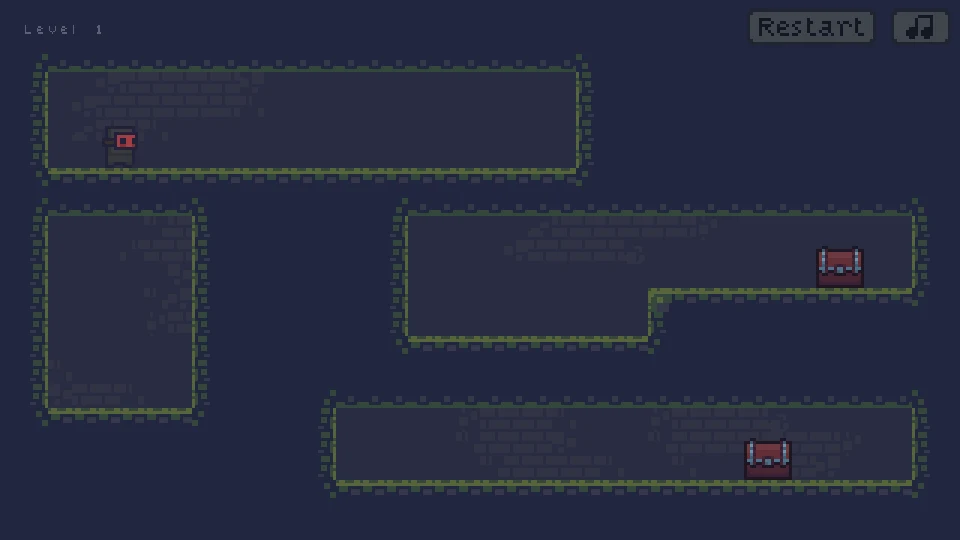
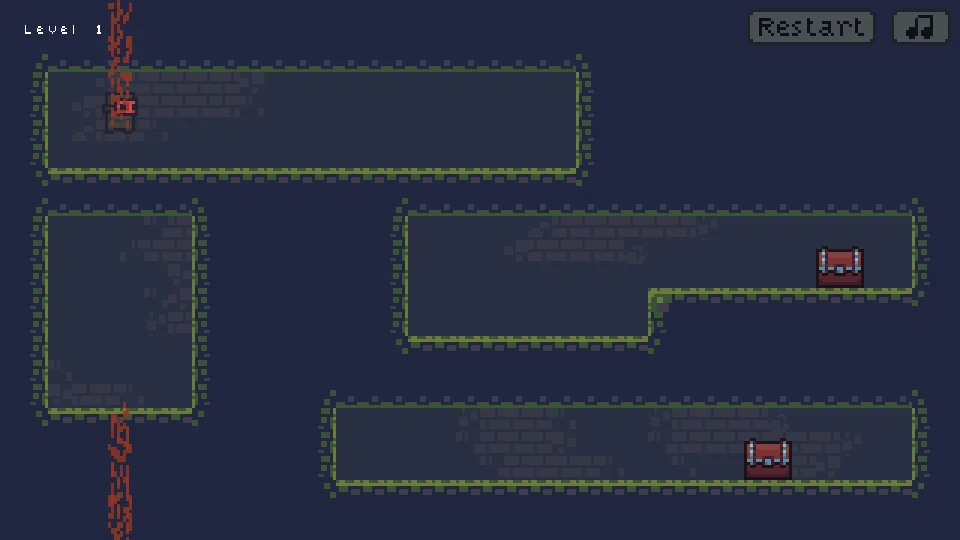
The opening room makes this distinction unusually clear. An upper enclosure sits above a small lower-left pocket and two chest areas on the right. The left pocket is easy to enter, but entering it does not by itself rescue anyone. The chests are elsewhere. Before using the ability, locate the closed chests and compare their horizontal positions with your own. This gives the dash a destination instead of turning it into a repeated reaction to whatever floor is under your feet.
Walk first, phase second
Move with A and D or the arrow keys, jump with W or the up arrow, and press X or J to dash through the ground. R restarts the room, M mutes sound and Escape opens the game menu. The dash is a separate action from an ordinary jump. Jumping is still useful for a small ledge after arrival; repeatedly phasing is not a substitute for every local movement.
Use the upper enclosure to try one dash from a stationary position. Watch the red trail and the chamber where the shaman appears. Then move sideways before trying again. The important comparison is not how quickly you pressed X, but which column of the room the shaman occupied when the move began. An attempt from the left side and one from the right side can share the same input while passing through quite different arrangements of floors, walls and open space.
Why did the shaman come back at the top?
A downward route can continue past the bottom of the screen and re-enter at the top. In the opening room’s left-hand column, the first ground dash takes the shaman from the upper enclosure into the small lower-left chamber. A later dash from that lower chamber produces a red trail at the bottom and the top, then brings him back into the upper enclosure. This is a vertical loop, not a newly selected upward teleport.
Keep that loop in mind when a chest seems to sit above the shaman. You may be able to approach it by continuing downward through the screen boundary rather than finding an ordinary staircase upward. Trace the whole column, including its top edge, before deciding that a position is trapped. The screen border is part of the room’s route system. At the same time, a wrap only helps if the re-entry column leads to useful space; returning to the same empty enclosure has not advanced the rescue.
| Opening-room setup | Observed arrival | What it teaches |
|---|---|---|
| Upper-left column, first ground dash | Small lower-left chamber | Ground traversal follows the chosen column. |
| Same lower-left column, next dash | Upper enclosure after bottom-to-top wrap | The screen edge continues the downward route. |
| Repositioned toward the right chambers | A different chamber containing a chest route | Horizontal setup changes the useful vertical connection. |
The easy chamber can be the wrong chamber
The opening left pocket is a good place to learn the action because its walls make the arrival obvious. It is also an easy place to waste several moves. If you dash again from the same horizontal position, the shaman can cycle between familiar spaces without moving closer to either chest. The ability is working correctly; the route choice is the part that needs changing. Return to the upper enclosure and walk toward the column that intersects the chest areas.
This is a useful way to separate a control problem from a puzzle problem. A red trail followed by a recognizable arrival means the input was accepted. Repeating it more quickly will not make an empty chamber contain a chest. Stop after the first unhelpful loop, compare the room again and choose another starting column. The initial layout rewards a small horizontal adjustment much more than a long sequence of identical dashes.
Arrival still leaves a short platforming task
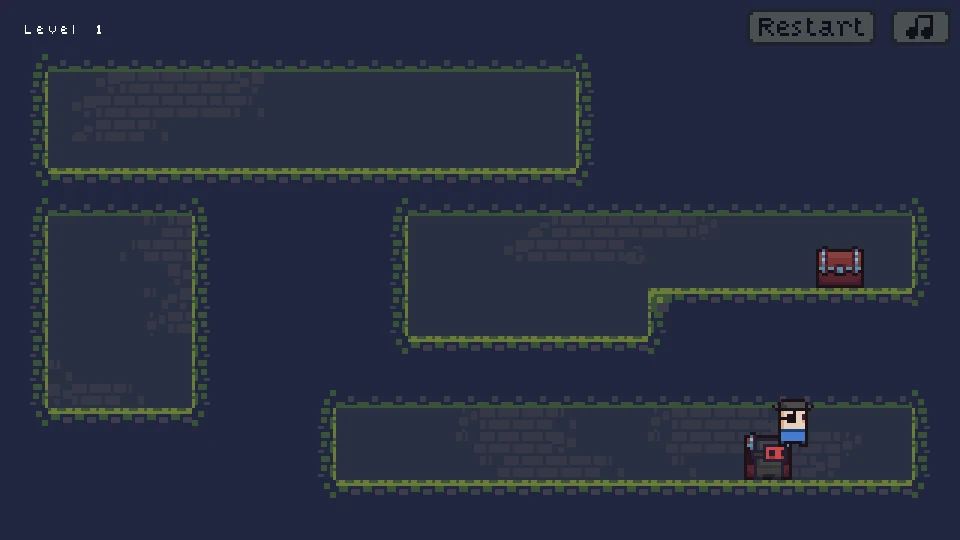
Repositioning toward the right-hand spaces changes the opening dash’s result. The shaman can enter the right chamber rather than the isolated left pocket. Once there, a short step up separates the lower part of the chamber from the chest ledge. Ordinary walking can stop against that face. Use a jump to clear the local height difference, then move into the chest. The ground ability solved access to the chamber; it did not automatically finish every movement inside it.
After reaching a lower chest, another downward traversal can wrap through the screen and bring the shaman into the upper-right space. This makes chest order a matter of connected positions rather than simply clearing the nearest object first. An opened chest is visible progress. Check the other chest before assuming the room is finished, and choose the next phase from a position that intersects its chamber. A small repositioning on safe ground can save an otherwise unproductive circuit around the vertical loop.
Inspect the space after the dash
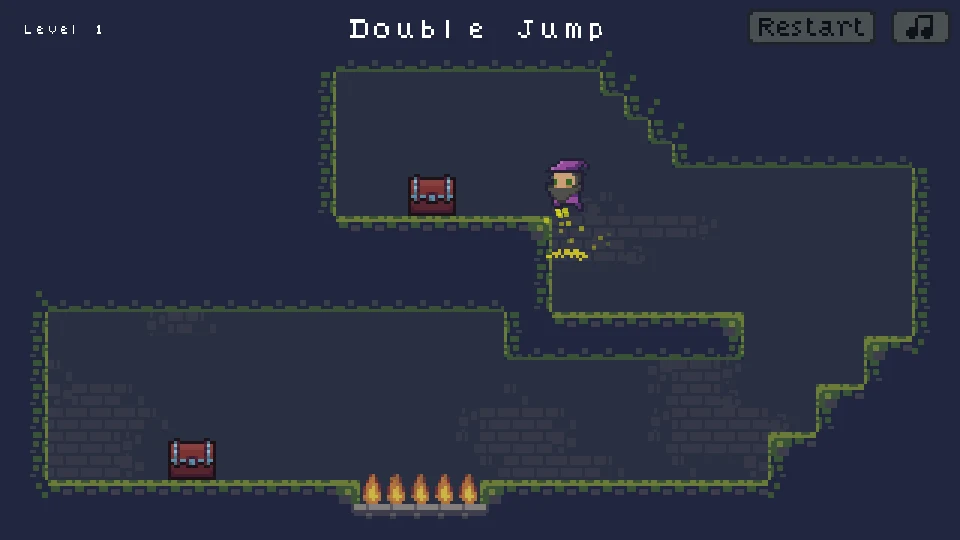
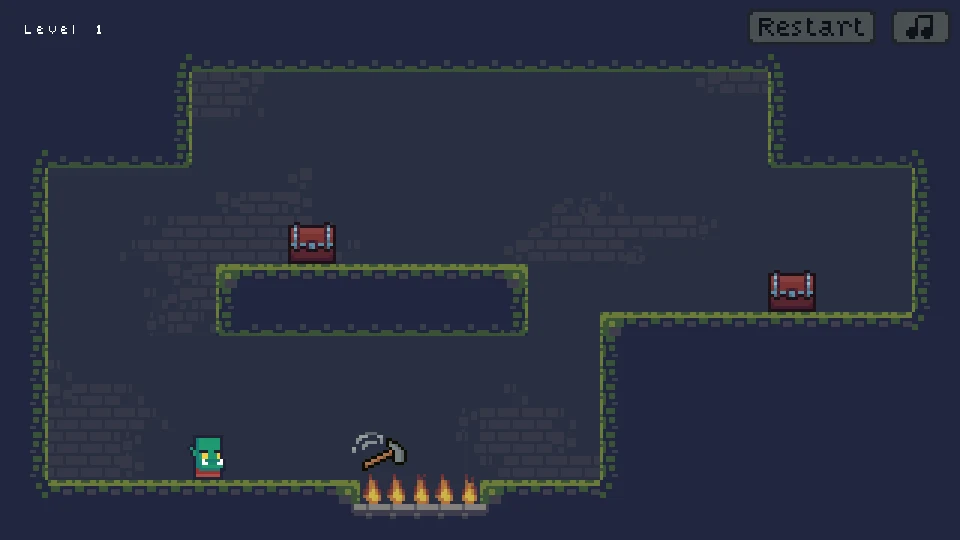
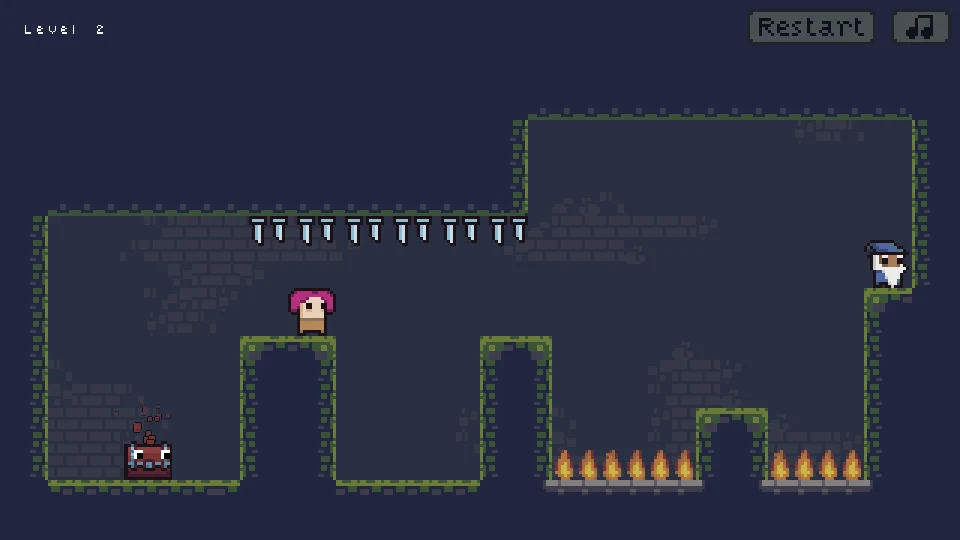
Later rooms place flames and spikes around the open passages. A route that crosses solid terrain successfully can still end in danger. Before leaving, identify the floor or ledge that will catch the shaman after the traversal. If a flame row occupies that space, the fact that the dash can pass through the ground does not make the eventual landing safe. Treat traversal and arrival as two separate parts of the decision.
Layered rooms also make it easy to look at the right chest in the wrong passage. Follow its enclosing walls to see which lane actually contains it. A chest immediately below the shaman on the screen may be separated by another open corridor first. Notice where the red trail stops, let the arrival settle and reassess before pressing X again. Carrying the same assumption through several quick dashes makes it much harder to tell which chamber introduced the failure.
Fix the column before changing the timing
When the shaman repeatedly returns to an unhelpful spot, use the room’s geometry to decide what to alter. If the arrival is the wrong chamber, change the horizontal starting position. If the arrival is correct but the character stops beside a raised ledge, use the ordinary jump. If a hazard occupies the landing, choose a different approach or wait where the room provides safe ground. These problems can look similar during fast play, but they do not need the same correction.
R gives you a fresh room when the attempt has become awkward. Use it to test a clear hypothesis, such as whether a position nearer the chest’s column produces a useful arrival. Do not add several changes at once. Keeping the starting place recognizable lets you compare two outcomes and understand which floor or opening redirected the path. That knowledge remains useful when the next room reshuffles the passages around the same downward ability.
A useful first session follows one complete loop
Begin by learning the upper-enclosure to lower-pocket transition, then watch the bottom-to-top wrap. Once those two results are clear, stop using the empty pocket as the default route. Move toward the chest columns and work through the small jumps left after arrival. This progression teaches the distinctive rule of Hasty Shaman without requiring you to memorize a full sequence of button presses for every room.
Play with a keyboard on a desktop browser so that movement, jump and dash remain separate inputs. If X is awkward beside the movement keys, J provides the other listed dash binding. Enlarging the game can help you distinguish a thin floor from a passage, especially in the layered layouts. If the game window itself fails to connect, use Retry Game; once it is running, the in-game R restart is the relevant recovery for an unsuccessful route. Neither fullscreen mode changes the column or wrap rules.