
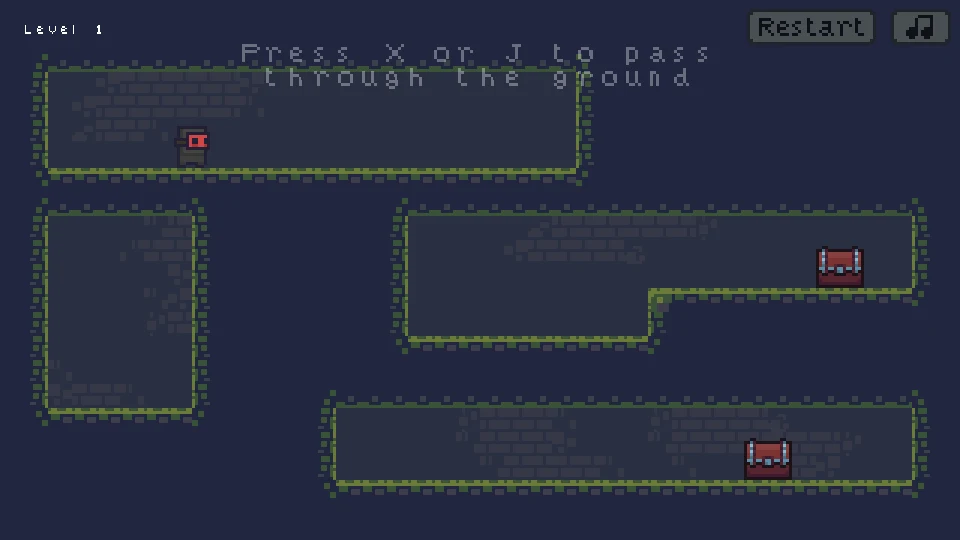
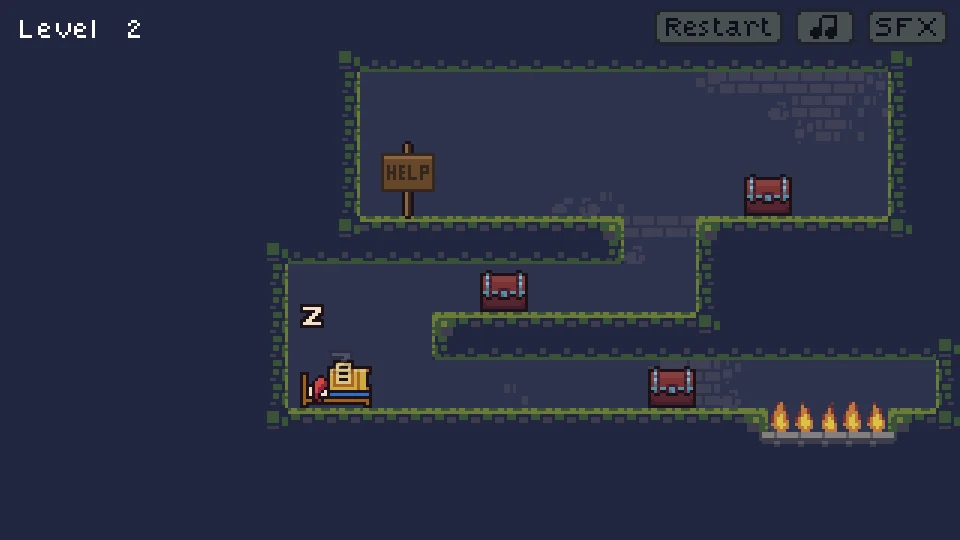
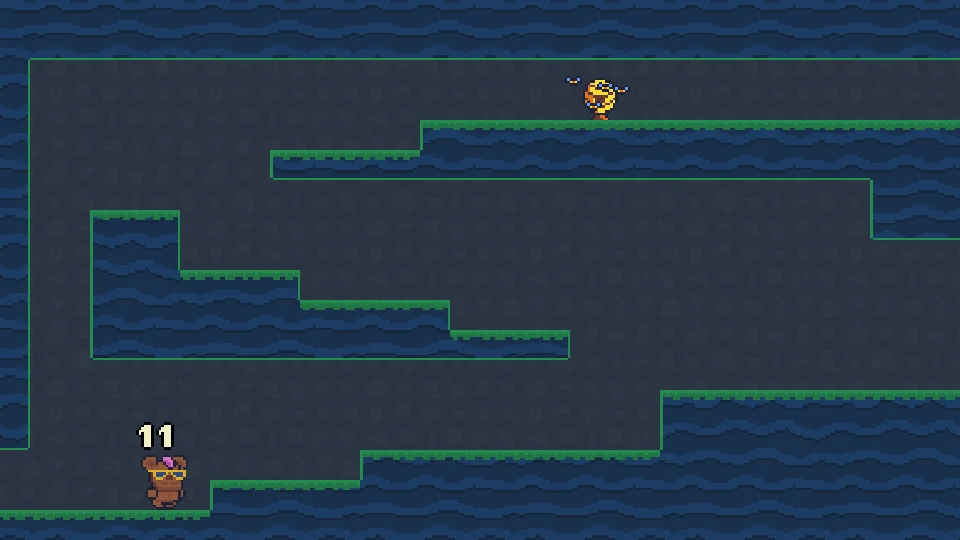
Start with the orange character, not the ogre
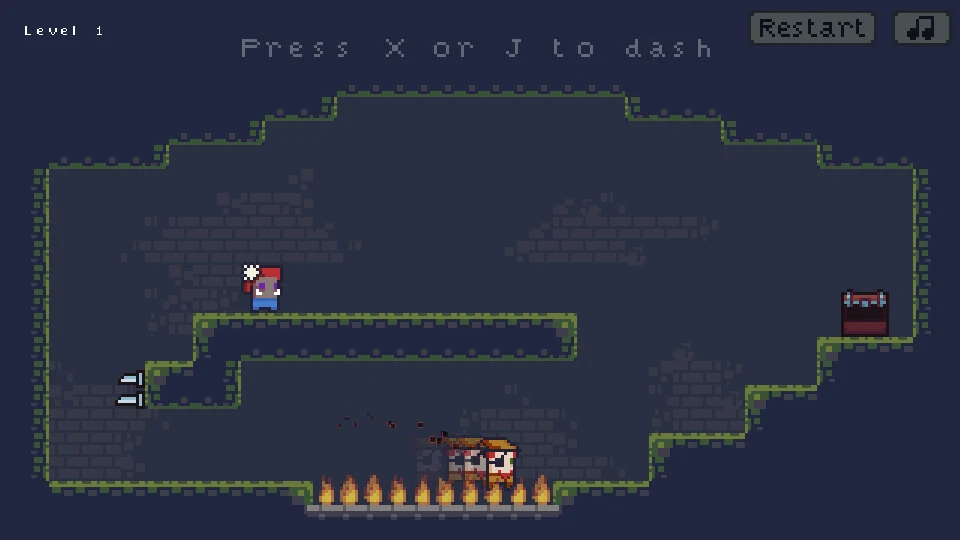
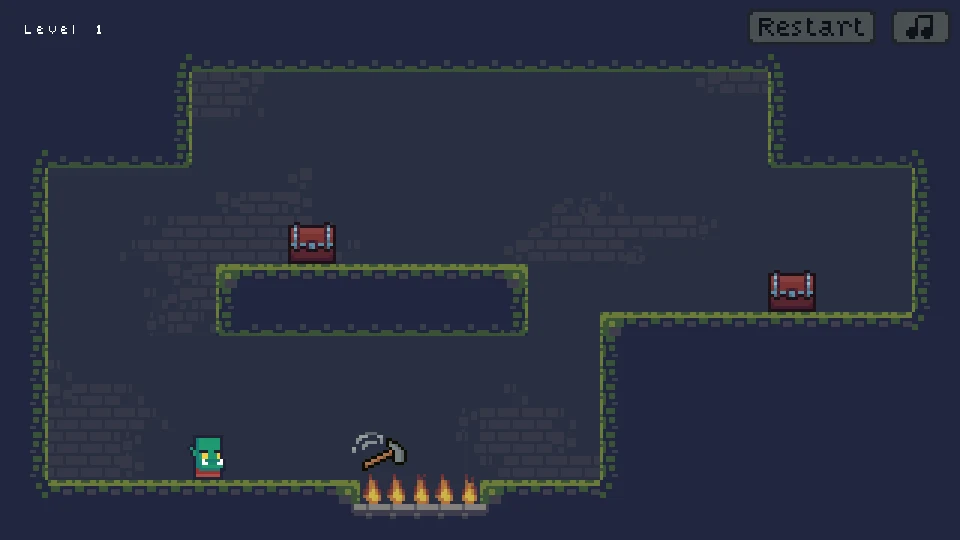
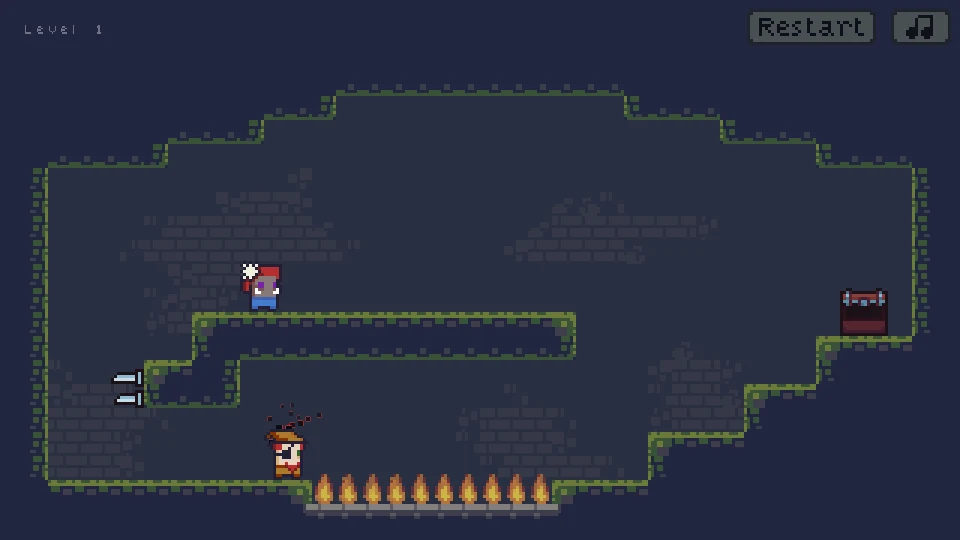
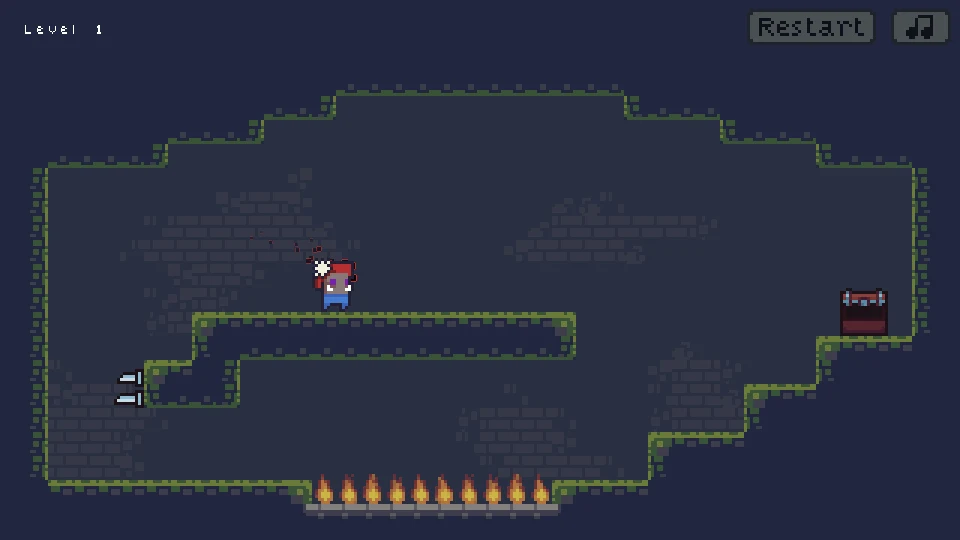
Sticky Sorcerer asks you to bring ogres to open chests. At the start of the first room, the orange sorcerer is on the lower floor, a blue ogre waits on the raised platform and an open chest sits on the right. The orange character responds to your movement. The ogre above is part of the task, not the character you initially steer. Identifying those roles makes the opening layout much easier to understand.
- Orange sorcerer: the initially controlled character.
- Blue ogre: the target to take through the room.
- Open chest: the delivery destination.
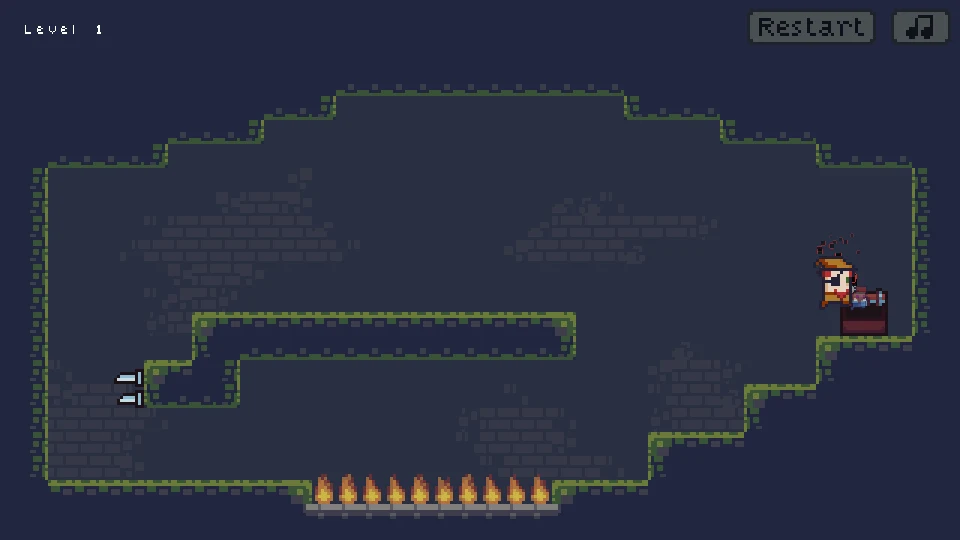
Move into an ogre and the character you take through the room changes. The carried body keeps the sorcerer’s distinctive red trail, and you can lead it toward a chest. On delivery, the ogre is left in the chest and the orange sorcerer is visible again. That objective is different from opening a closed chest to free somebody. A successful route therefore has two parts: reach the ogre, then get the combined character to a suitable chest.
Walking, jumping and dashing each solve a different part
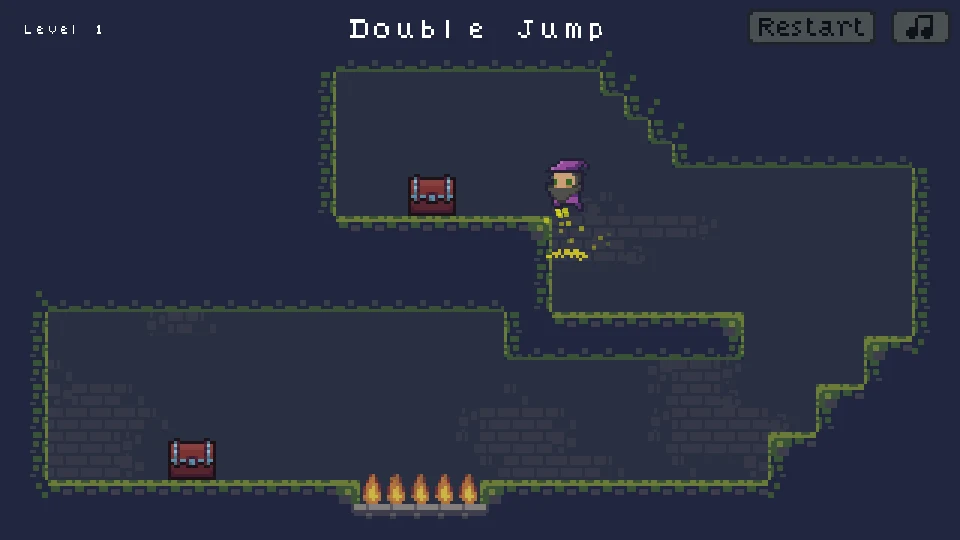
Use A and D or the arrow keys to move, W or the up arrow to jump, and X or J to dash. R restarts the room, M mutes sound and Escape opens the menu. Test the ordinary jump before adding the dash. A jump gives you clearance, while a dash changes the horizontal movement sharply enough that the landing deserves its own check. Repeatedly pressing both without reading the character’s position can send the sorcerer directly into a wall or flame trench.
The red afterimages help distinguish a dash from an ordinary step. They show where the burst began and the direction it took. Use them as feedback after an attempt: did you launch from the position you intended, and did the character clear the obstacle before descending? If the burst starts underneath the wrong platform, additional distance may only carry you farther along its underside. Change the approach rather than treating every failed jump as a request for more speed.
Why does the first jump hit the platform?
The ogre’s platform has a long underside above the starting floor. Jumping directly beneath it can stop the sorcerer’s upward movement before he reaches the ogre’s level. The opening is not asking you to jump through that solid ceiling. Look toward the platform’s left side, where the room provides a different approach around the overhang. The nearby wall spikes make this a route to plan, not a direction to hold blindly.
Move into the clear space before beginning the ascent. Read the exposed spike tips and the small stepped surfaces separately: safe floor below a step does not make the wall beside it safe to touch. A jump and timed dash can help the sorcerer reach the stepped approach, followed by another jump toward the ogre platform. If a collision leaves the sorcerer grey or returns him to the starting position, the failed contact is useful information about the height or angle of that attempt.
Touching the ogre changes what you carry
On reaching the upper platform, approach the ogre on actual ground. In the opening room, contact changes the moving character from the orange sorcerer to the blue ogre with the player’s red trail. You can then continue along the platform together. You do not need to attack the ogre repeatedly or look for a score pickup at its former position. The meaningful new state is that the target is now travelling with you.
Pause long enough to recognize that change before beginning the crossing. The sorcerer’s route to the ogre and the carried character’s route to the chest start in different places. A jump that was useful from the lower floor does not automatically describe the next departure. Locate the platform edge, the flame trench underneath and the right-hand steps leading up to the open chest. Carrying the target is progress, but it also makes the remaining landing part of the same delivery task.
Cross the trench in stages
The first chest is on the right, beyond the low flame-filled space. The upper ogre platform gives you height for the crossing, while the stepped right-hand side provides somewhere to land. Move toward a deliberate departure point and jump toward those steps. Keep the whole carried character clear of the hazard row. Landing on a lower step is useful even if it does not put you immediately beside the chest. It creates another stable place for the final ascent.
Use separate jumps for the right-hand height changes. Holding a movement direction against a raised step will not walk the character through the wall. Let the landing settle, jump again and move toward the open chest. When delivery succeeds, the ogre is no longer the moving body and the orange sorcerer appears beside the chest. Watch for that visible change before assuming that merely standing near the chest has completed the job.
Plan the next contact before leaving safety
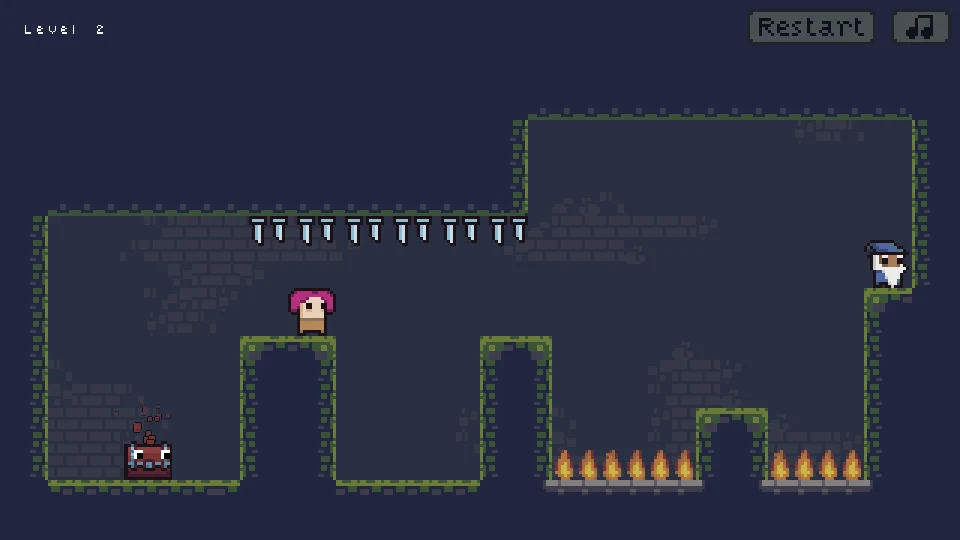
Later rooms combine several targets, chests and moving bats with spikes above and flames below. The route is no longer only a line from one fixed platform to another. A moving creature can enter or leave the space you intended to use while the sorcerer is airborne. Watch that movement before committing to a dash, and choose a destination that still provides a recovery position if the timing changes.
Several targets also make order matter. Bringing one ogre to a chest changes which body the player controls and where the sorcerer resumes. Think beyond the immediate contact: where will the next useful jump begin after delivery, and which target is reachable from there? The first room teaches this pattern with a single ogre and chest. In a busier room, the same habit prevents a successful pickup from leaving you with a poor approach to the remaining task.
What should change after a failed dash?
Use the point of failure to choose the correction. Hitting the underside of the ogre platform calls for a different approach position. Touching the left-facing spikes calls for more clearance before crossing their line. Falling into the central flames calls for a departure or landing adjustment. Missing a moving target calls for a timing check. These are distinct problems, so a longer burst is not a universal repair.
R restores the room when a failed route has become difficult to read. On the next attempt, keep the part that already worked. If you can reach the ogre reliably, focus on the carried character’s take-off and the right-hand steps. If the crossing is sound but delivery does not occur, finish the last small movement into the open chest and inspect the character change. Repeating the entire room at maximum speed hides these useful differences between reaching, carrying and delivering.
Keep the small movement cues visible
A desktop keyboard suits the separate movement, jump and dash inputs. X and J are alternatives for the same dash, so choose the one that lets your movement hand remain comfortable. Give the embedded game focus before combining keys. When the sorcerer does not respond at all, first check whether the surrounding page has focus; when he responds but collides with the overhang, the input worked and the route needs attention.
Webpage Fullscreen enlarges the player inside the page, and Browser Fullscreen uses the browser’s native display mode. Either can make the small red trail and exposed spike edges easier to see. They do not make a missed collision safe. For a connection failure use Retry Game; for an ordinary unsuccessful delivery use the game’s restart. The goal for a first session is a repeatable sequence of approach, contact, safe crossing and visible delivery, with the orange sorcerer ready for the next task.